Buying a cameras is one of those decisions that feels obvious until you start comparing models, and then nothing makes sense. The marketing language across brands is nearly identical, the price spread is wide, and the people you ask all have a different favorite. This guide steps back from the noise and walks through the choices that actually shape how a cameras fits a household over time.
What you will learn
- Sensor size and what it actually means for owning a cameras
- Lens ecosystem and what it actually means for owning a cameras
- Autofocus performance and what it actually means for owning a cameras
- Ergonomics and what it actually means for owning a cameras
- Video capability and what it actually means for owning a cameras
Start with how you will actually use it
Understanding video capability
Owners who have used a cameras for several years rate this higher than first time buyers do, because the difference shows up over time rather than at first glance. If you have a choice between two models at similar prices, the one with a clearly described video capability is the safer pick.
Kit lens versus starting with a prime
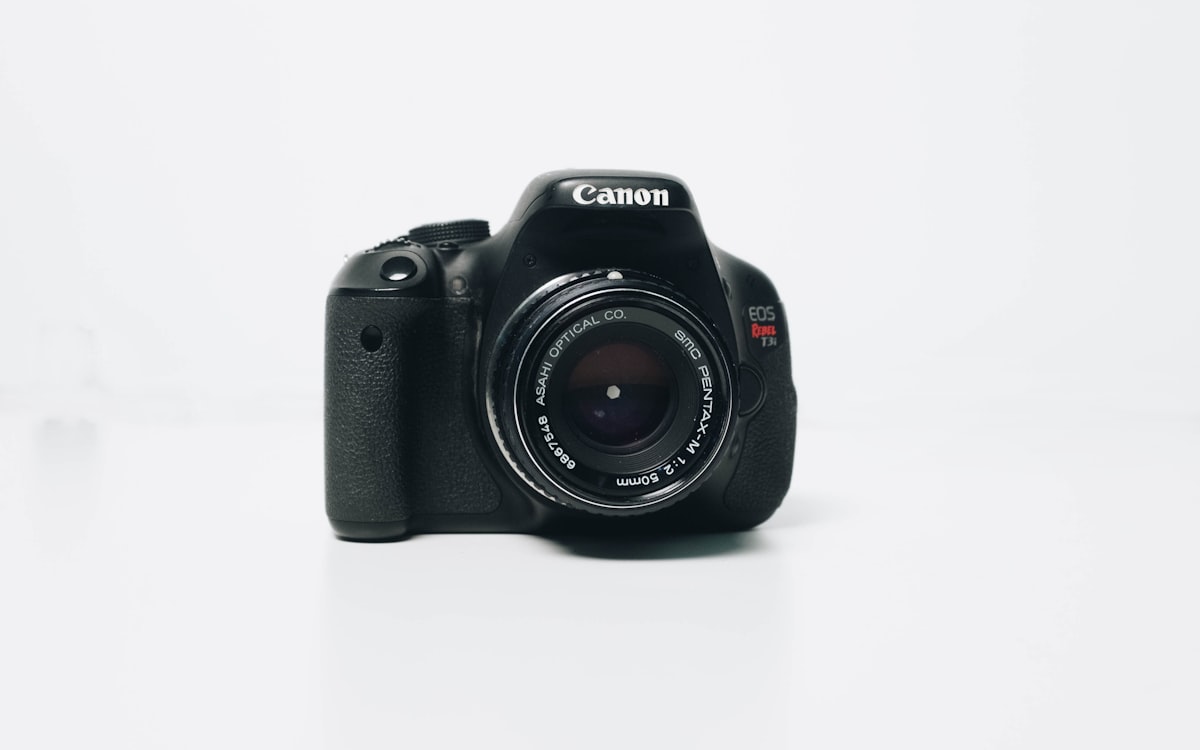
Most camera bodies ship with an 18-55mm zoom as part of a “kit.” Kit lenses are inexpensive, versatile, and optically middling. The alternative is to buy the body alone and add a fixed-focal-length prime, which is sharper and lets in more light but does not zoom.
| Setup | Purchase cost | Sharpness | Low-light performance | First-year experience |
|---|---|---|---|---|
| Body plus 18-55mm kit zoom | Base + $0 to $150 | Adequate | Limited, f/3.5 to f/5.6 | Flexible, feels less inspiring |
| Body plus 35mm or 50mm f/1.8 prime | Base + $150 to $250 | Excellent | Strong, f/1.8 | Restrictive framing forces composition |
| Body plus both | Base + $300 to $400 | Best of both | Prime for evenings, zoom for daylight | Higher cost, longer learning curve |
Indoor gatherings, portraits, and evening scenes suit a prime lens. Travel and children in motion suit the zoom.
Memory cards, batteries, and the accessory floor
A camera without spare batteries misses the second half of any interesting day. A typical mirrorless battery gives 300 to 500 shots with the rear screen active, or 700 to 1,000 through the viewfinder. Video cuts that number in half. Two batteries plus a dual charger for $50 to $120 is the minimum reasonable setup.
- Buy at least two memory cards. A single failed card on a trip is unrecoverable.
- Match card speed to the body. UHS-I is enough for photo, UHS-II is required for high-bitrate video on many modern bodies.
- Buy cards from established manufacturers who publish endurance ratings. Cheap bulk cards are the leading cause of corrupted files.
- Buy a blower brush and microfiber cloth. Never touch the sensor: cleaning is a $60 to $120 shop service.
The maintenance routine most beginners skip
Cameras are more delicate than laptops or phones. A dust speck on the sensor shows as a dark blob in every image at small apertures. A fingerprint on the rear lens element softens contrast noticeably. The habit that prevents both is a two-minute routine after each shoot: cap the lens, brush dust from the mount, wipe the front element with a microfiber cloth, and store the camera in a dry bag with a silica pack.
Long-term storage in humid climates benefits from a dry cabinet that maintains 40 to 50 percent humidity. These cost $80 to $250 and pay for themselves the first time fungus is prevented on a $500 lens. In dry climates, a padded case with fresh silica gel is enough. Trouble signs include stubborn spots surviving a blow-out, autofocus hunting in good light, and any grinding during zoom or focus.
The Wikipedia article on mirrorless camera design covers the modern generation of bodies. The laptop buying guide covers editing workflow, the first smartphone guide covers tethered shooting, and the headphones guide covers monitoring video audio.
Sensor size and how it changes low-light performance
The physical size of the imaging sensor is the single specification that most reliably predicts how a camera behaves in dim light, how much background blur it produces at a given aperture, and how heavy the lenses will be. Four sizes dominate the mirrorless and DSLR market. The difference between them is not marginal.
| Sensor | Dimensions | Crop factor | Typical clean ISO ceiling |
|---|---|---|---|
| 1 inch | 13.2 x 8.8 mm | 2.7x | ISO 1600 |
| Micro Four Thirds | 17.3 x 13 mm | 2.0x | ISO 3200 |
| APS-C | 23.6 x 15.6 mm | 1.5x (1.6x Canon) | ISO 6400 |
| Full frame | 36 x 24 mm | 1.0x | ISO 12800 to 25600 |
| Medium format | 44 x 33 mm | 0.79x | ISO 12800, with higher dynamic range |
Every step up the ladder roughly doubles the sensor surface area and gains one full stop of usable low-light range. A full frame body at ISO 6400 produces roughly the same noise pattern as a Micro Four Thirds body at ISO 1600, all else equal. In practical terms, an APS-C camera can shoot handheld inside a lit restaurant at 1/60 second and f/2.8 without pushing past a clean ISO limit; a Four Thirds sensor would need either a faster lens or a slower shutter speed and steadier hands.
The crop factor changes lens choice. A 35 mm lens on a full frame body gives a natural, slightly wide field of view. The same 35 mm lens on an APS-C body behaves like a 52 mm lens, which is closer to a traditional portrait framing. And a full frame 85 mm f/1.8 portrait lens weighs around 400 grams; the Micro Four Thirds equivalent 42.5 mm f/1.8 weighs 130 grams. Kit weight for a two-lens travel setup differs by about a kilogram across the extremes.
Two consequences follow. A larger sensor is better for available-light interiors, concerts, and shallow-depth portraits. A smaller sensor is better for travel, wildlife where reach matters more than blur, and any situation where the whole kit must fit in a small bag.
Frequently asked questions
How much should a first time buyer spend on a cameras?
Enough to get past the bottom third of the market, where corners are cut on the parts that fail first. Beyond the middle of the market, the gains become smaller and brand premium plays a larger role.
Is a longer warranty always a sign of better quality?
Often, but not always. Some brands offer long warranties with strict conditions that limit what is actually covered. Read the warranty terms before assuming a longer period means more protection.
Should I buy in store or online?
If you can test the cameras in person, the in store experience is more useful than reading specifications alone. If the model is only available online, look for sellers with a transparent return policy and shipping that does not punish you for changing your mind.